 The Clean Boot Blog
How to Regrout Floor Tiles (Step-By-Step Guide)

Tile regrouting is a simple, yet effective process that can bring your shabby looking floor tiles back to life. It’s a cost-effective way to create a fresh look without installing new tiles. While ceramic tiles are quite resistant, the grout in between them is delicate. This is why it’s important that you regrout your floor tiles if you observe any breakage or damage in the grout lines.
Grout loses its natural color over time. Therefore, if your tiles are getting older, you should opt to regrout on a periodic basis to avoid problems in the future. This step-by-step guide will help you regrout your tiles with ease.
Step 1 – Remove Existing Grout
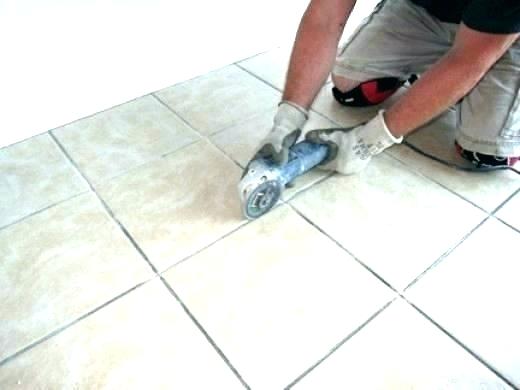
Before applying a new layer of grout, make sure to remove existing grout from your tiles. Use a grout saw or utility knife for the best results. Keep in mind, it takes a great deal of patience and effort to remove grout from your tiles. Move the saw back and forth on the grout lines to scrape the surface. Don’t put too much pressure as it can damage your tiles.
Step 2 – Vacuum
The next step is to clear mess and debris. Make use of a vacuum cleaner to ensure a quick and effective clean up – now your floor is all set for the new layer of grout. Dirty and soiled floors will make the entire surface uneven when you’re applying the fresh layer of grout. So, make sure to keep the floor tidy and mess-free before beginning the process, to get smooth and even results.
Step 3 – Choose a Suitable Color
Buy a suitable color for the space you’re planning to regrout. If you’re planning to regrout a complete room, then the color should complement your tile color. However, if you have decided to regrout a selected area, it is obviously better if you pick a color that matches the previous grout.
Step 4 – Form a New Grout Mixture

Always read the instructions on the product packaging to know exactly how to use the new product. The suggested proportions are also mentioned on the package. Generally, you’ll require to mix an inch of water with an adequate amount of grout powder. Make sure you don’t make a thin or runny mixture as it won’t stick properly between the tiles. The mixture should be thick, that way it will be easily applied and will stick between the lines. Make enough mixture that you can cover your entire area in a single go. This way you won’t have to prepare the mixture repeatedly, the final results will also be consistent.
Step 5 – Slake the Mixture
Once you have prepared enough grout mixture to cover your desirable area, it’s time now to let it rest for 10 to 15 minutes. This process is technically called slaking and it gives ingredients enough time to mix and meld.
Step 6 – Apply the Mixture
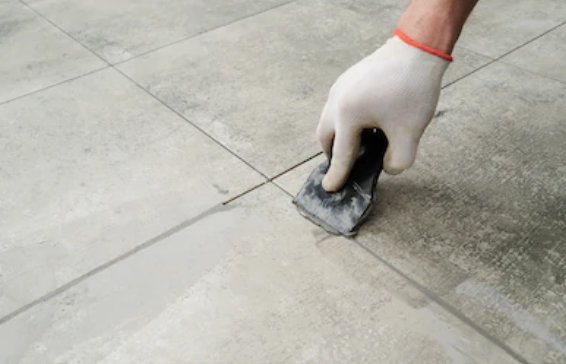
With the help of a grout float, scoop your mixture and apply it directly to your grout lines by carefully pressing it in between the grout lines. Be certain to hold your float at a 30-degree angle. Let the grout sit for at least 15 minutes. To fill the grout joints accurately, make sure to distribute any extra mixture into the grout joints. Wipe off excess mixture with the help of a towel or a sponge. It’s very important to give your application ample time to dry. Meanwhile, you can move to other areas and repeat the process.
Step 7 – Remove Extra Mixture and Clean the Floor
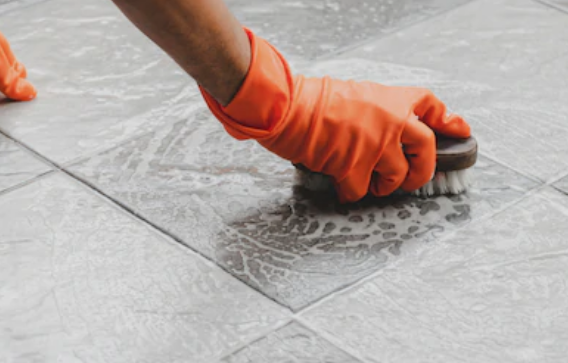
After properly filling the spaces with grout mixture, remove excess grout with the help of a float. You can do this by pounding the tile with the float. To scrape the excess mixture, use a sharp angle and rotate it diagonally across the floor to eradicate all the extra grout protruding out of the surface. Give your mixture enough time to dry. With the help of a wet towel, remove excess mixture. Do it twice until the tile streaks.
Step 8 – Clean and Repeat

Repeat the same scraping steps until all the excess is removed and there is no grout residue left on the tile.
Step 9 – Buff Off
After 15 minutes, or when you see the grout has completely dried, buff off the extra grout with the help of a white rag.
Step 10 – Use a Sealer
One of the most important yet often neglected steps is to seal your newly treated floor. Use an appropriate grout sealer to give a final touch to your floor and make it last longer.
Apart from maintaining routine regrouting activities, it’s also important to take proper care of your floor. Make sure to use safety shoe covers inside your house to prevent dirt and debris that will eventually make your tiles look hazy. These simple steps will help you re-grout your flooring, and keep it looking fresh and clean.
Order your Clean Boot boot covers today...Order Online!
Secure Online Ordering & We Ship Internationally.


