 The Clean Boot Blog

Tile regrouting is a simple, yet effective process that can bring your shabby looking floor tiles back to life. It’s a cost-effective way to create a fresh look without installing new tiles. While ceramic tiles are quite resistant, the grout in between them is delicate. This is why it’s important that you regrout your floor tiles if you observe any breakage or damage in the grout lines.
Grout loses its natural color over time. Therefore, if your tiles are getting older, you should opt to regrout on a periodic basis to avoid problems in the future. This step-by-step guide will help you regrout your tiles with ease.
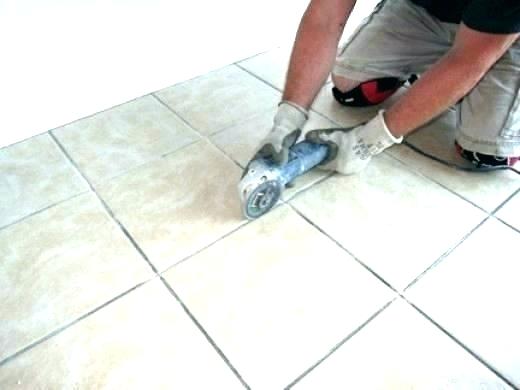
Step 1 – Remove Existing Grout
Before applying a new layer of grout, make sure to remove existing grout from your tiles. Use a grout saw or utility knife for the best results. Keep in mind, it takes a great deal of patience and effort to remove grout from your tiles. Move the saw back and forth on the grout lines to scrape the surface. Don’t put too much pressure as it can damage your tiles.
Step 2 – Vacuum
The next step is to clear mess and debris. Make use of a vacuum cleaner to ensure a quick and effective clean up – now your floor is all set for the new layer of grout. Dirty and soiled floors will make the entire surface uneven when you’re applying the fresh layer of grout. So, make sure to keep the floor tidy and mess-free before beginning the process, to get smooth and even results.
Step 3 – Choose a Suitable Color
Buy a suitable color for the space you’re planning to regrout. If you’re planning to regrout a complete room, then the color should complement your tile color. However, if you have decided to regrout a selected area, it is obviously better if you pick a color that matches the previous grout.
Step 4 – Form a New Grout Mixture

Always read the instructions on the product packaging to know exactly how to use the new product. The suggested proportions are also mentioned on the package. Generally, you’ll require to mix an inch of water with an adequate amount of grout powder. Make sure you don’t make a thin or runny mixture as it won’t stick properly between the tiles. The mixture should be thick, that way it will be easily applied and will stick between the lines. Make enough mixture that you can cover your entire area in a single go. This way you won’t have to prepare the mixture repeatedly, the final results will also be consistent.
Step 5 – Slake the Mixture
Once you have prepared enough grout mixture to cover your desirable area, it’s time now to let it rest for 10 to 15 minutes. This process is technically called slaking and it gives ingredients enough time to mix and meld.
Step 6 – Apply the Mixture
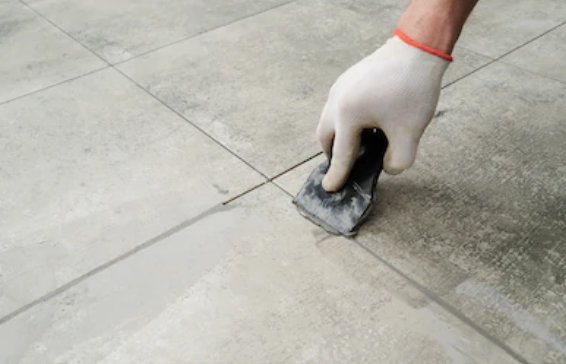
With the help of a grout float, scoop your mixture and apply it directly to your grout lines by carefully pressing it in between the grout lines. Be certain to hold your float at a 30-degree angle. Let the grout sit for at least 15 minutes. To fill the grout joints accurately, make sure to distribute any extra mixture into the grout joints. Wipe off excess mixture with the help of a towel or a sponge. It’s very important to give your application ample time to dry. Meanwhile, you can move to other areas and repeat the process.
Step 7 – Remove Extra Mixture and Clean the Floor
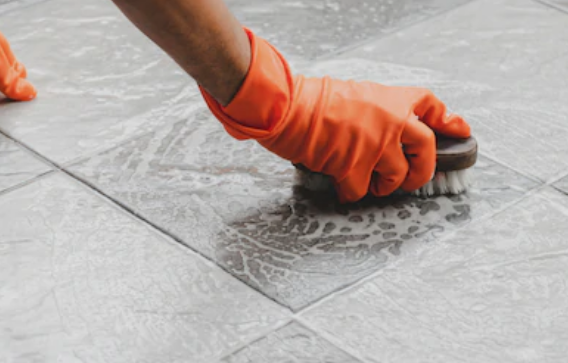
After properly filling the spaces with grout mixture, remove excess grout with the help of a float. You can do this by pounding the tile with the float. To scrape the excess mixture, use a sharp angle and rotate it diagonally across the floor to eradicate all the extra grout protruding out of the surface. Give your mixture enough time to dry. With the help of a wet towel, remove excess mixture. Do it twice until the tile streaks.
Step 8 – Clean and Repeat

Repeat the same scraping steps until all the excess is removed and there is no grout residue left on the tile.
Step 9 – Buff Off
After 15 minutes, or when you see the grout has completely dried, buff off the extra grout with the help of a white rag.
Step 10 – Use a Sealer
One of the most important yet often neglected steps is to seal your newly treated floor. Use an appropriate grout sealer to give a final touch to your floor and make it last longer.
Apart from maintaining routine regrouting activities, it’s also important to take proper care of your floor. Make sure to use safety shoe covers inside your house to prevent dirt and debris that will eventually make your tiles look hazy. These simple steps will help you re-grout your flooring, and keep it looking fresh and clean.

Hardwood flooring is a long-term investment that needs sealing to remain intact and maintained. Sealing and protecting Hardwood floors is a great way to accentuate the natural beauty of wood. Plus, it makes the cleaning process easier.
There are many techniques to seal a Hardwood floor. For instance, some Hardwoods need far more maintenance than others for protection to be long lasting. As far as teak is concerned, it should be washed properly before sealing as it is naturally very oily.
First, it’s important to understand that sealant and finish are two different things. While the former secures flooring by absorbing into the pores (found naturally in highly-absorbent materials, the latter establishes an invisible covering over the surface that acts as a fence against stains.
Apart from basic sealants, you can find slip-resistant products that not only provide a great finish but also create gentle traction that protects against slips, trips and falls. This is particularly useful in situations where the flow of traffic is high or with spaces that deal with regular water.
Below you will find effective ways to help you seal and protect your expensive wooden flooring.
How to Select the Right Type of Sealant for Your Flooring?
Floor sealant is basically a chemical solution that you use on the surface of different flooring materials. The basic purpose of using sealants is to prevent your flooring from possible damage and stains. In addition to that, some sealers tend to provide a high gloss finish when they interact with specific materials.
Types of Sealers
Broadly, there are 3 types of sealants currently available on the market:
- Initial use sealers: as the name implies is a sealant that is applied to flooring just after it’s installed. This is generally used for extremely porous surfaces that are at high risk of stains and scratches immediately after installation.
- Regular use sealers: can be applied on a regular basis to deal with the wear and tear that your flooring will face over the years. You should apply regular sealants on a monthly or yearly basis – to keep your flooring maintained and safe from damages.
- Restorative sealers: are used to reinvigorate the look of your flooring. With Hardwood flooring, you must strip away the chemical seal on top and then apply the restorative sealer all over the newly barren surface.
Steps to Seal and Protect Hardwood Flooring

Before getting started, make sure to properly clean your floor and remove even the smallest of particles to get a smooth and even finish. Usually, you must apply sealant in multiple coats to achieve an evenly covered glossy look. However, make sure to wait for the first coat to completely dry before you apply another coating.
Step 1 – Seal the Edges
Take a good-quality sealant and apply it carefully, yet thoroughly, to all edges and corners. This process is called cutting in. You can use a paint brush to apply sealant on the floor. Ideally, you should cut in around 100mm from the corner. This enables you to quickly complete the job and prevents getting stains on the wall.
Step 2 – Seal the Rest of the Flooring
Once you’re done with sealing the edges and corners, it’s time now to seal the rest of the flooring. With the help of a lambswool applicator, apply sealant to the entire floor. Once you’re done with the first coat, allow enough time for the sealant to dry, as only after it has completely dried will you be able to apply the second coat. Refer to the instructions given on the packaging to see the ideal drying time for the sealant you’re using.
How to Increase the Life of Seal Treatments?
Sealing is a popular technique that increases the life of your Hardwood flooring by protecting it against possible stains and scratches. Regardless of the type of Hardwood flooring you have in your home or office, the treatment may start to fade away over time. Luckily, there are several ways that can help you increase the life of your expensive flooring. For instance, you can follow a proper cleaning regime including sweeping and mopping to get rid of small particles that can cause damage to the protective layer. Similarly, some slight habit changes can help protect your flooring without reapplying sealant over and over again. Make sure to use protective shoe covers on regular basis to protect Hardwood flooring against dirt, debris and stains.


